Playtime refit part two.

This is where Fairey "Projects" can be be announced and progress monitored.

Don't forget to write up some notes for the Fairey News.


Ben
Admiral
Posts: 1694
Joined: Thu Mar 25, 2004 7:05 pm
Location:

Playtime refit part two.

Post by Ben »

Truth be told I had let Playtime get a bit scruffy, my efforts in the early part of last year addressed only the top half, this winter there is work to do on the bottom half.

I had intended to finish the season with little fuel on board and make a start in October. I managed neither, tanks were almost full and on Monday 24th October I started a week off by achieving this....

Image

I fell off the boat into the yard, about 6 feet, 17 stone landing on my wrist. Not the most auspicious of starts....(and yes, I am left handed)

Knowing that the outer keel band needed to be replaced and some small problems in the engine room I took the engines out to aid access and take the weight off her.

Image

It seems the rot in the keel band was more extensive that I thought, good job the entire thing is being replaced. I managed to chop about 3 feet off before my wrist gave up, thankfully a chum of mine's son apprenticed at Fairlie Restorations as a shipwright and he's now on the case.

Image

Keep watching, more to come.

Ben
Admiral
Posts: 1694
Joined: Thu Mar 25, 2004 7:05 pm
Location:

Post by Ben »

I've just been down there for a couple of hours this evening, topside are in desperate need of a repaint.

I've done them twice, in 2002/3 they had 5 coats, about 5 years ago they had 3 more coats, I've tried to get most of that off with 40 grit.

Image

Trusty Bosch sander died tonight.

Ben
Admiral
Posts: 1694
Joined: Thu Mar 25, 2004 7:05 pm
Location:

Post by Ben »

The trusty Bosch sander is still a live, but only just, its making a terrible racket.

I'll be replacing every inch of hose and pipe on the boat, every hose clamp and jubilee clip that is submerged.

Stbd exhaust had seen better days

Image

I've taken the tanks out, to be scrubbed clean inside, new poly carb lids on the inspection hatches and new rubber gaskets.


PerHansson
Commander
Posts: 311
Joined: Thu Dec 17, 2009 3:27 pm
Location: United Kingdom
Contact:

Post by PerHansson »

Hi Ben,

If you need to borrow an orbital sander, I have one to spare, the 'bees knees' etc (Festool).

Keep 'em pics posted as a very useful!

Cheers

Per

Ben
Admiral
Posts: 1694
Joined: Thu Mar 25, 2004 7:05 pm
Location:

Post by Ben »

More than overdue an update, time has been rushing by, I have been to the USA for work, missed a further week due to jet lag, but now back on the job. I want to be running down the Solent to Yarmouth on the 24th May for Yarmouth Old Gaffers, so I have about 2 months and one week. Ahem...


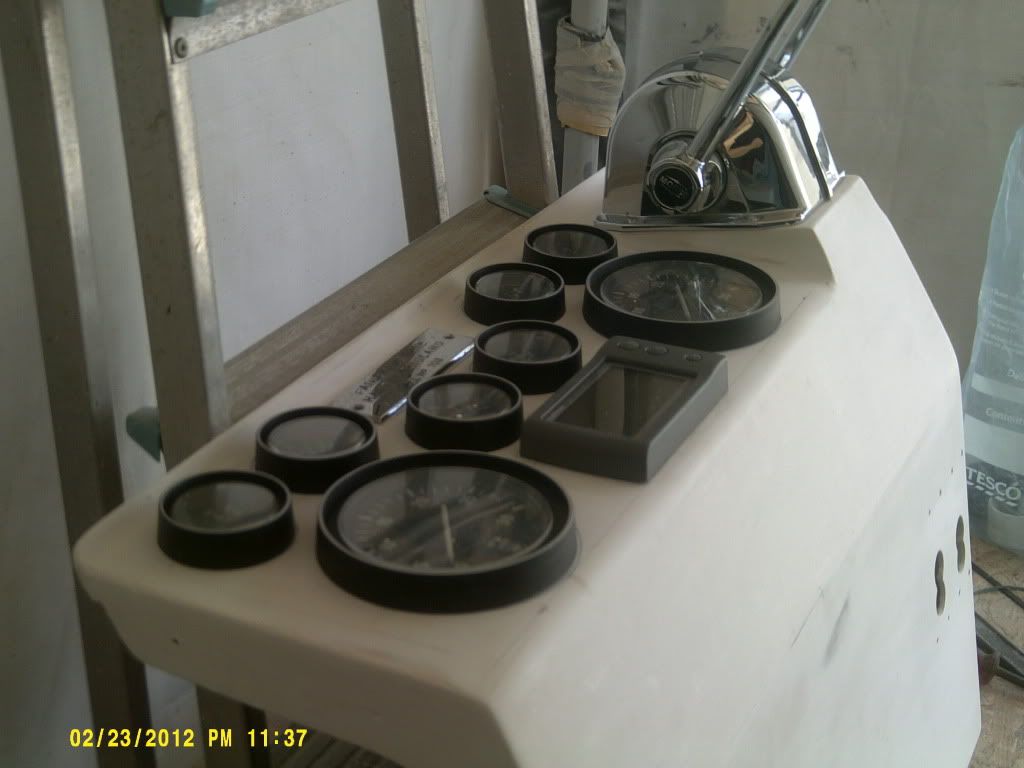
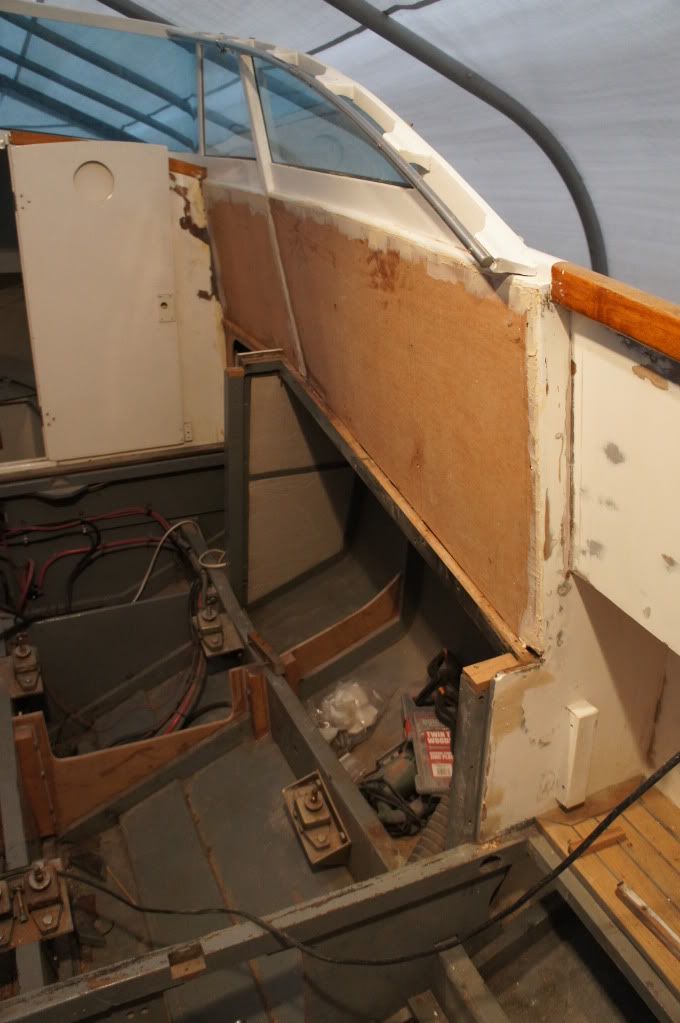
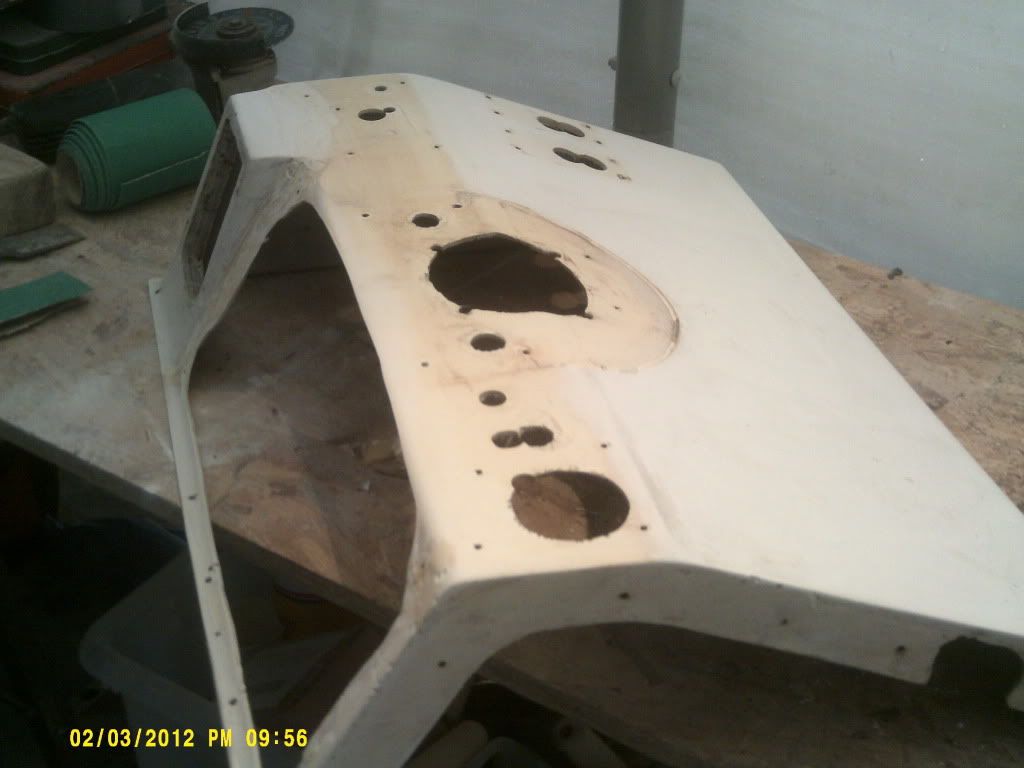
Centre console was an utter mess, the top had been chopped out with a badly fitting metal dash panel, hydraulic helm unit was leaking, guages had square bezels that I hated with a passion. Here it is, needing a lot of work.
Image

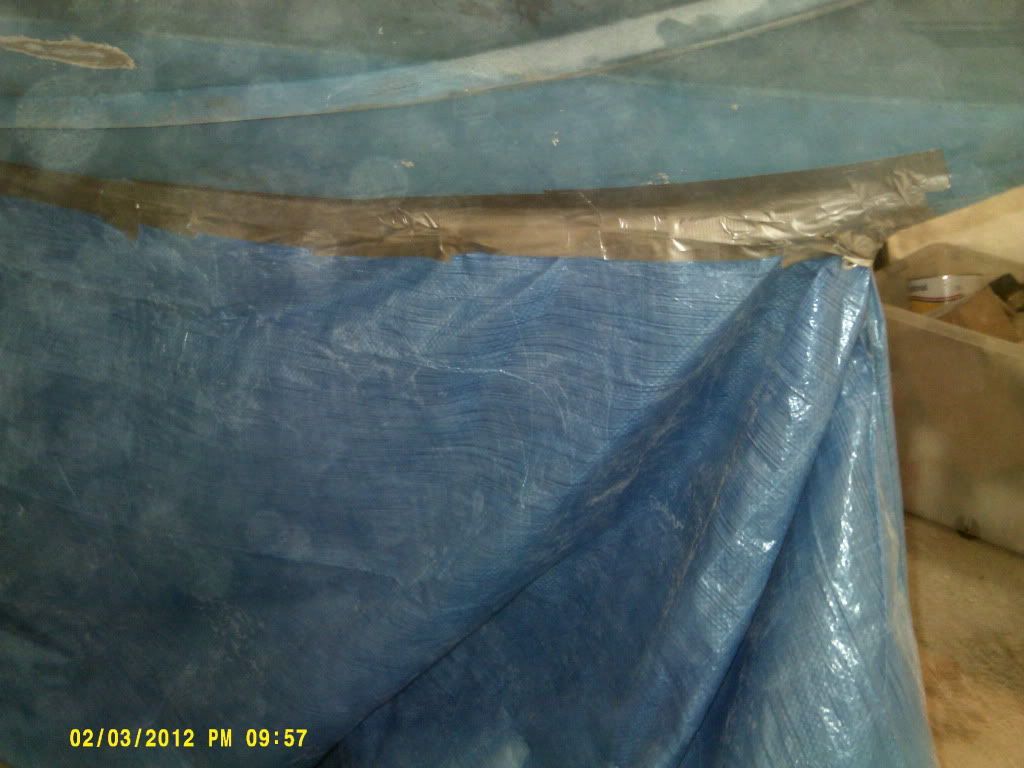
We have the keel tented off with a dehumidifier inside, we opened up today, in the vacinity of the dehum its much better, in some areas we've even got onto the scale on the moisture meter, a second dehum going in there tomorrow. Interestingly, its pulled about 2 gallons of water out of the wood so far!!


Image

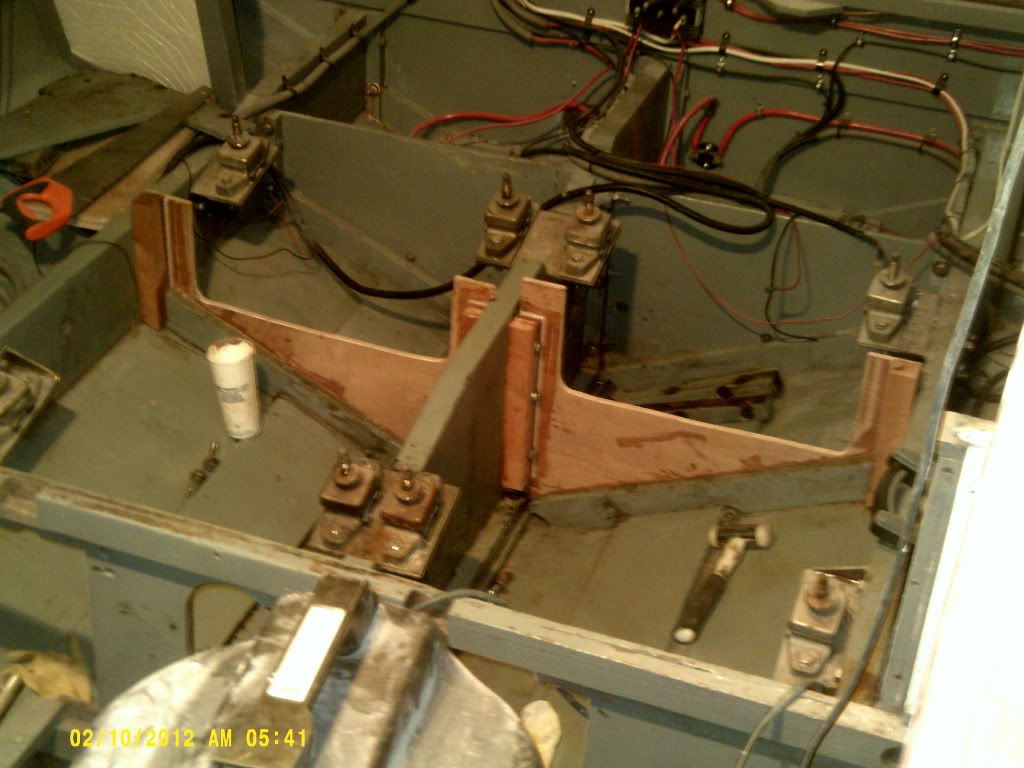
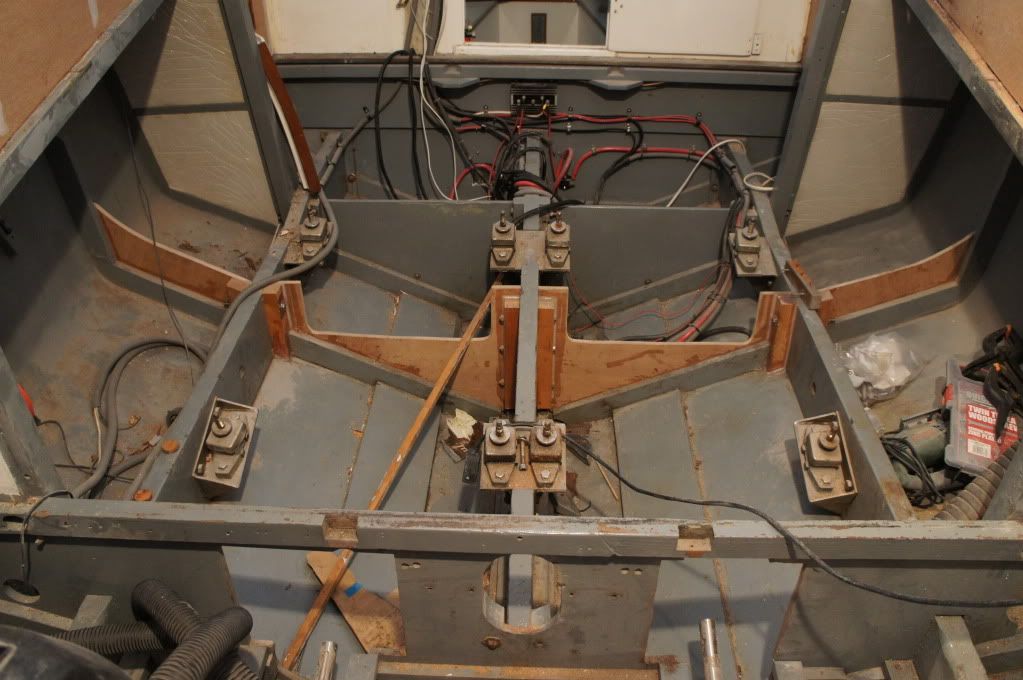
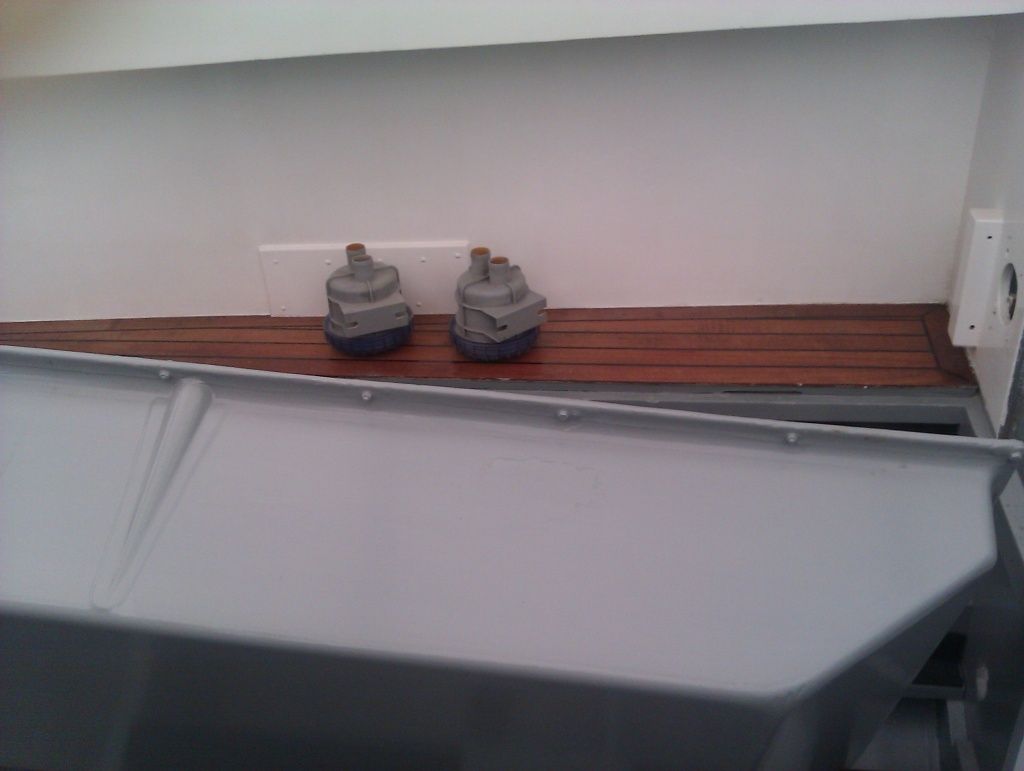
I went a bit mad in the cockpit, no stone unturned, all loose bits (everything you can see!) are to be glued back in, few bits of rot to be chopped out and replaced.

Image

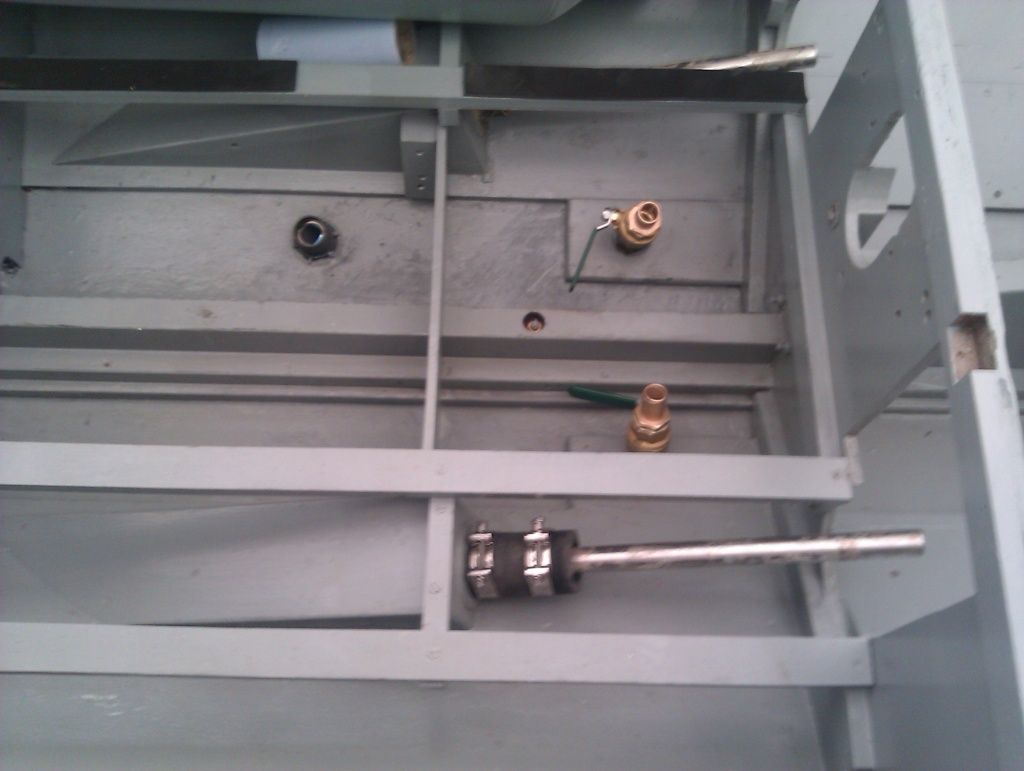
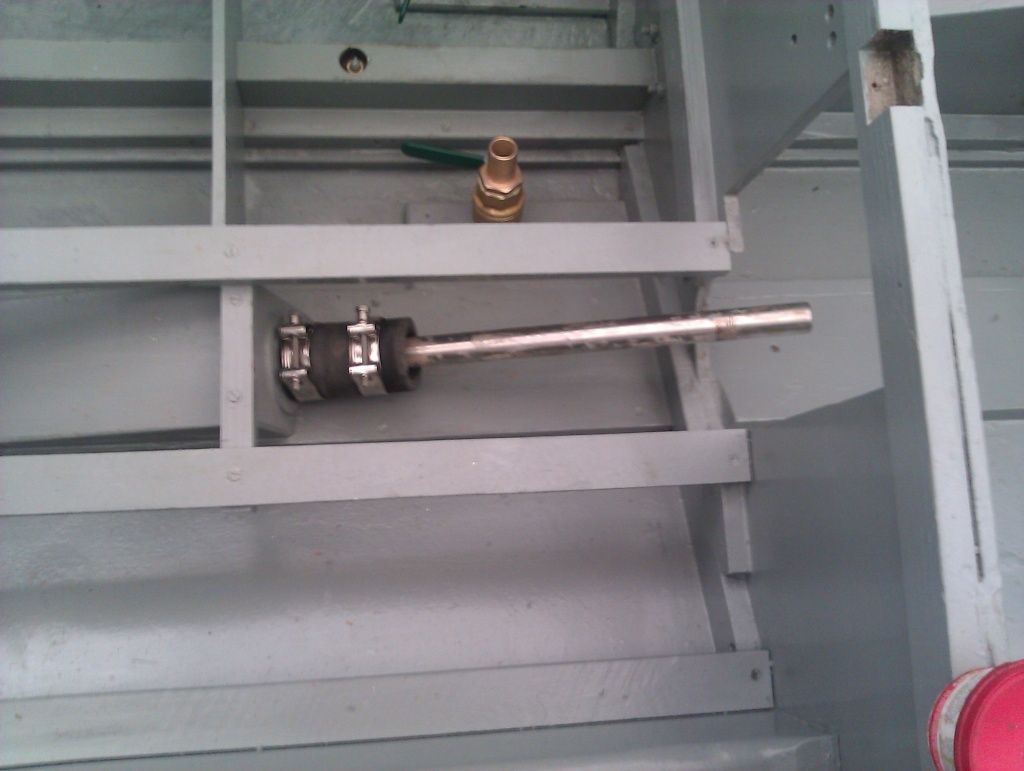
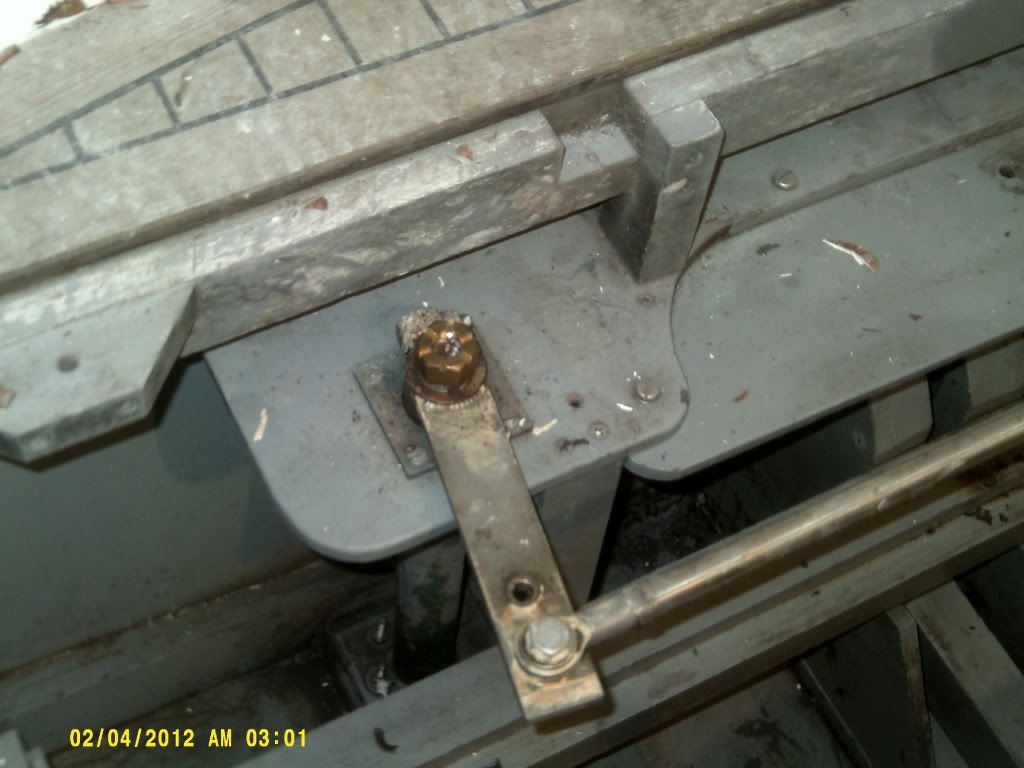
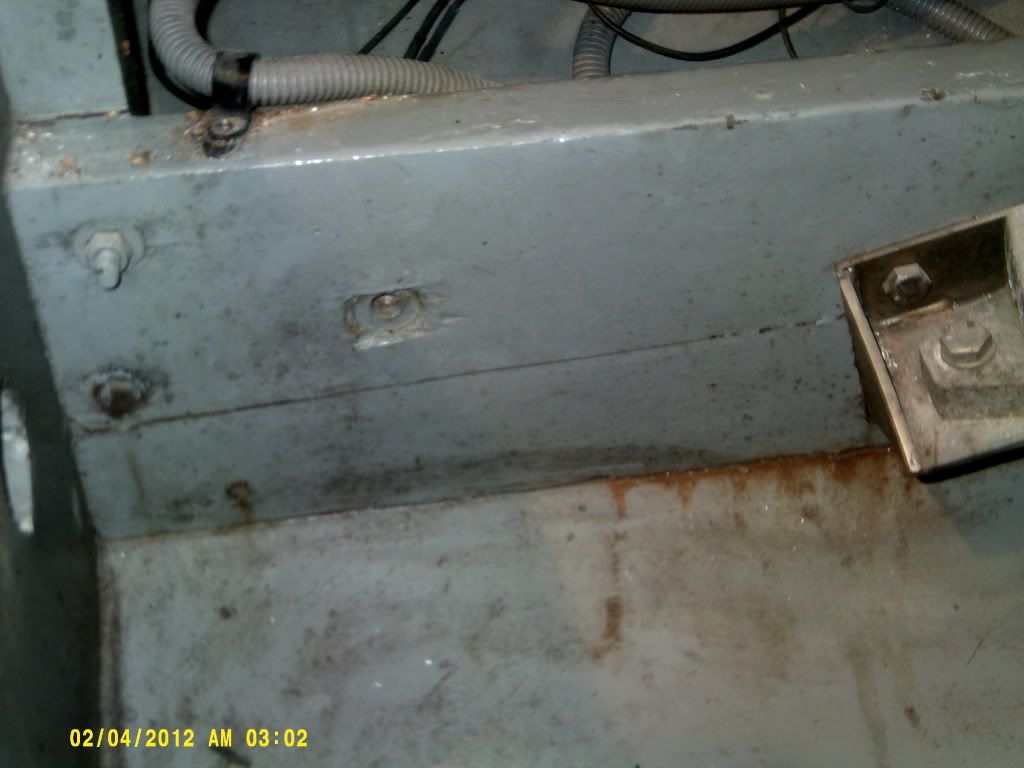
For ten years, the nuts on the rudders were mild steel, they drove me mad, no amount of paint or grease stopped them rusting, so here we have brass replacements, I couldn't find bronze, with help from Scott we worked out the threads were 3/4 BSF 12 TPI, not much of that about these days.

Image

Crack in the port hog to be routered out and a graving piece glued in both sides, plus some coach bolts from the top down into the bottom.

Image

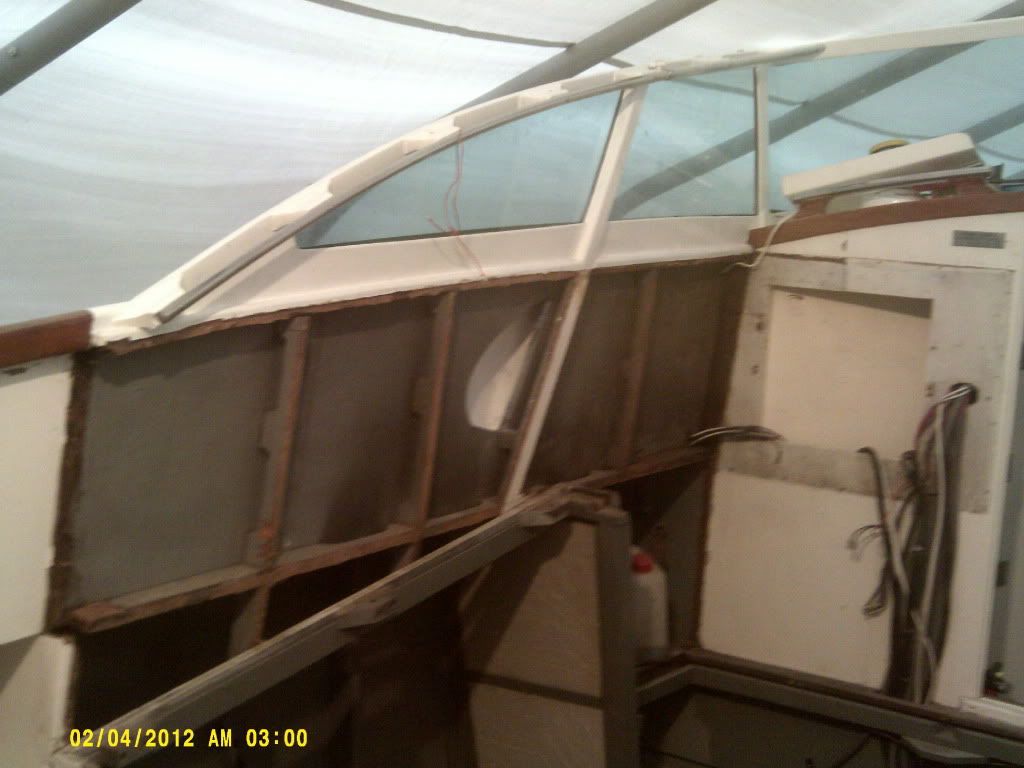
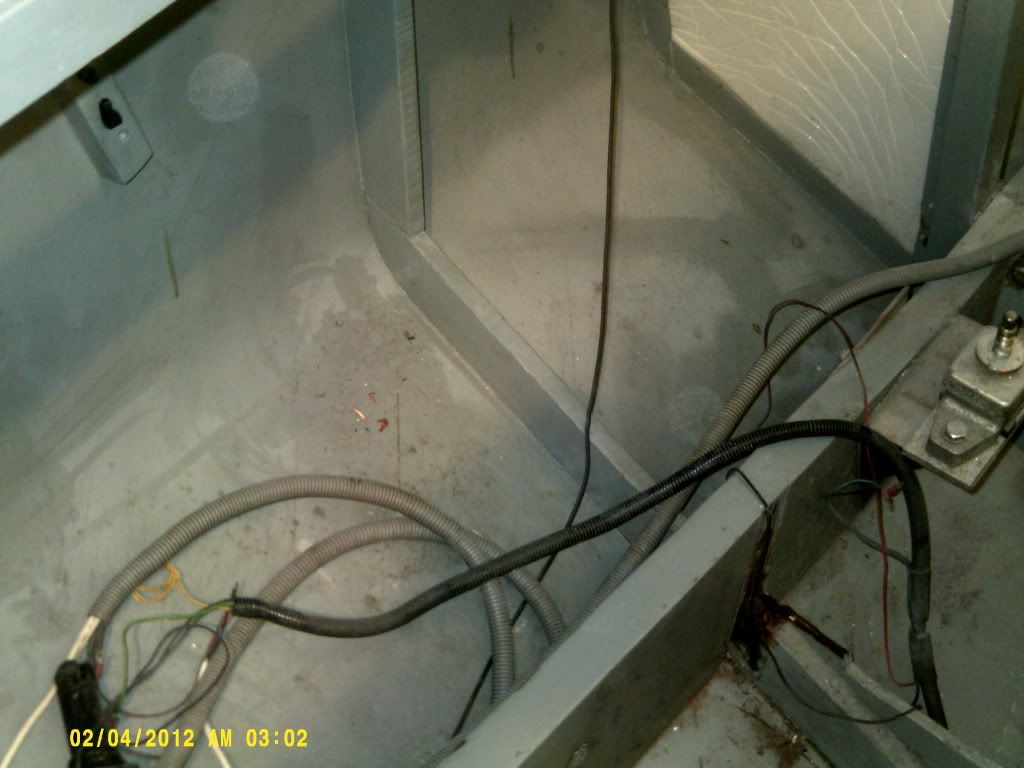
Interesting pic this one, see the frame in the centre of the shot heading out from the hog to the chine? Its loose. See the bit of missing frame and filler inboard of the hog? It came off in my hand. I knew all this needed doing it seems I was right.

Image

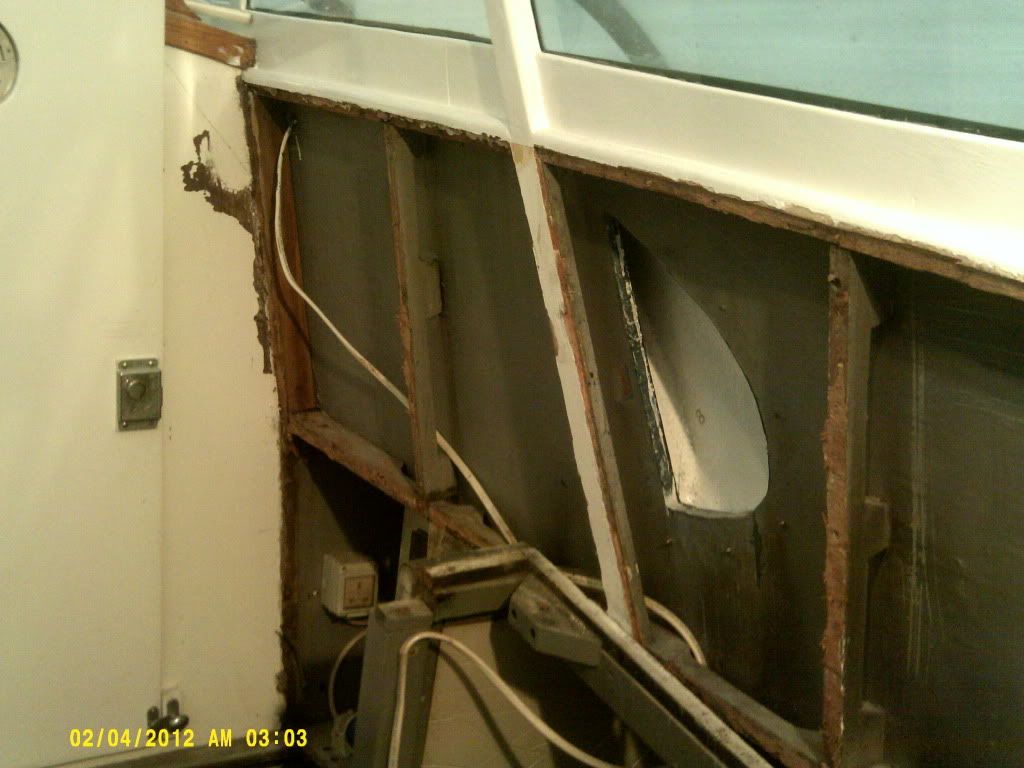
Otherside of the cockpit.

Image

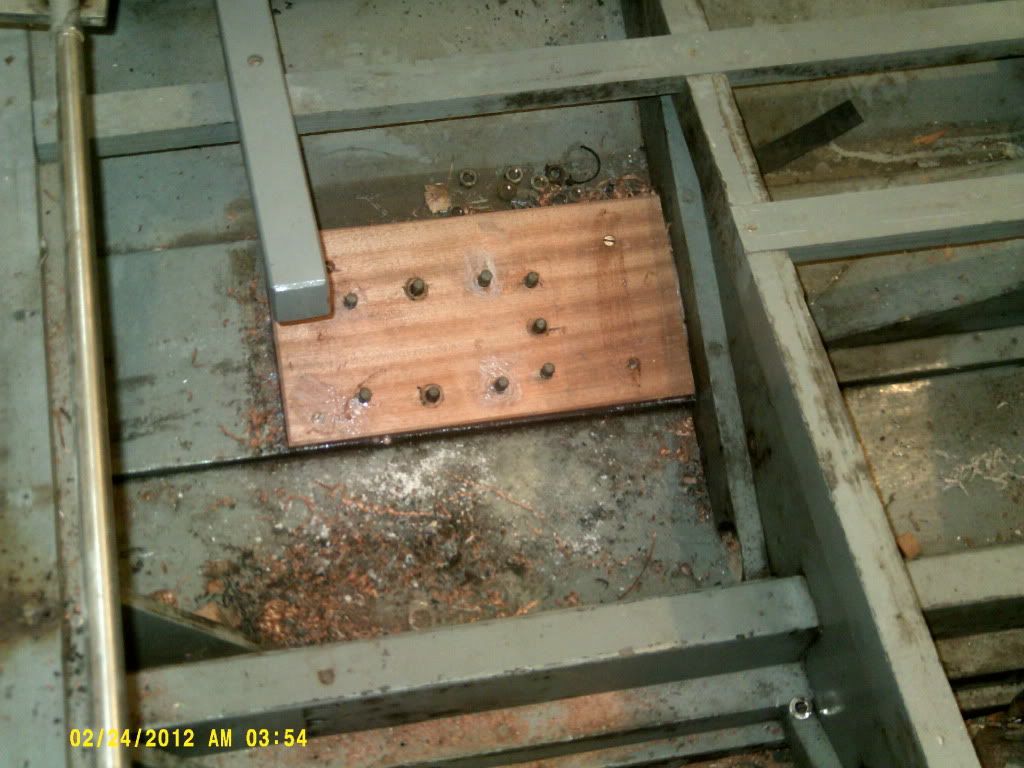
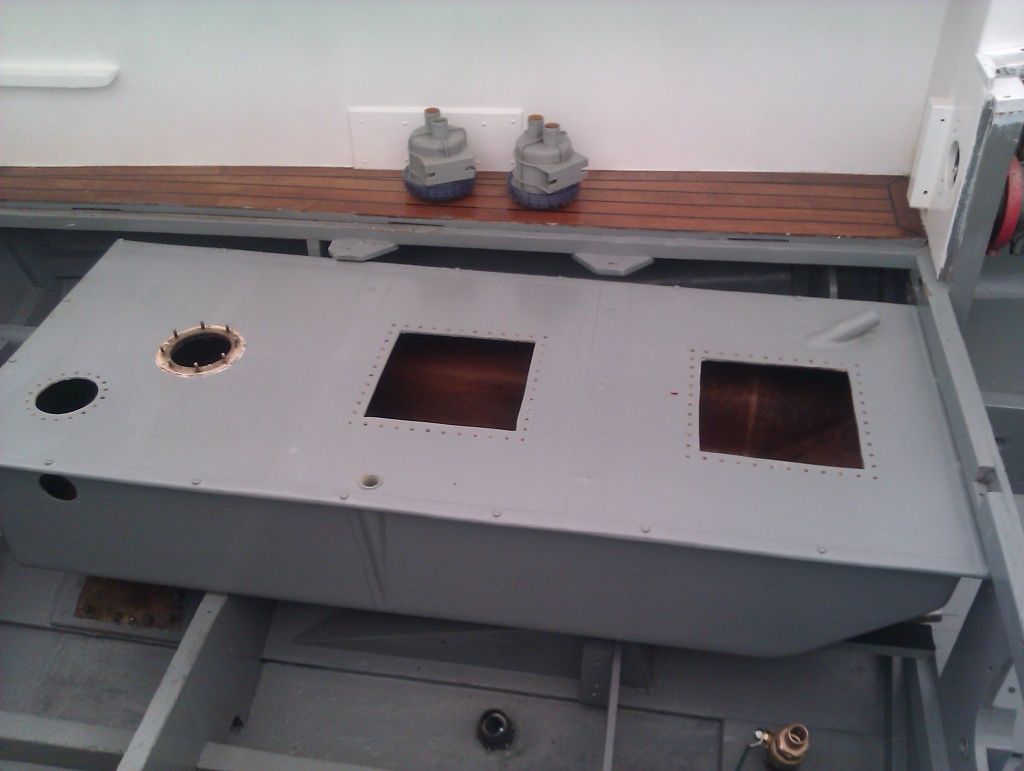
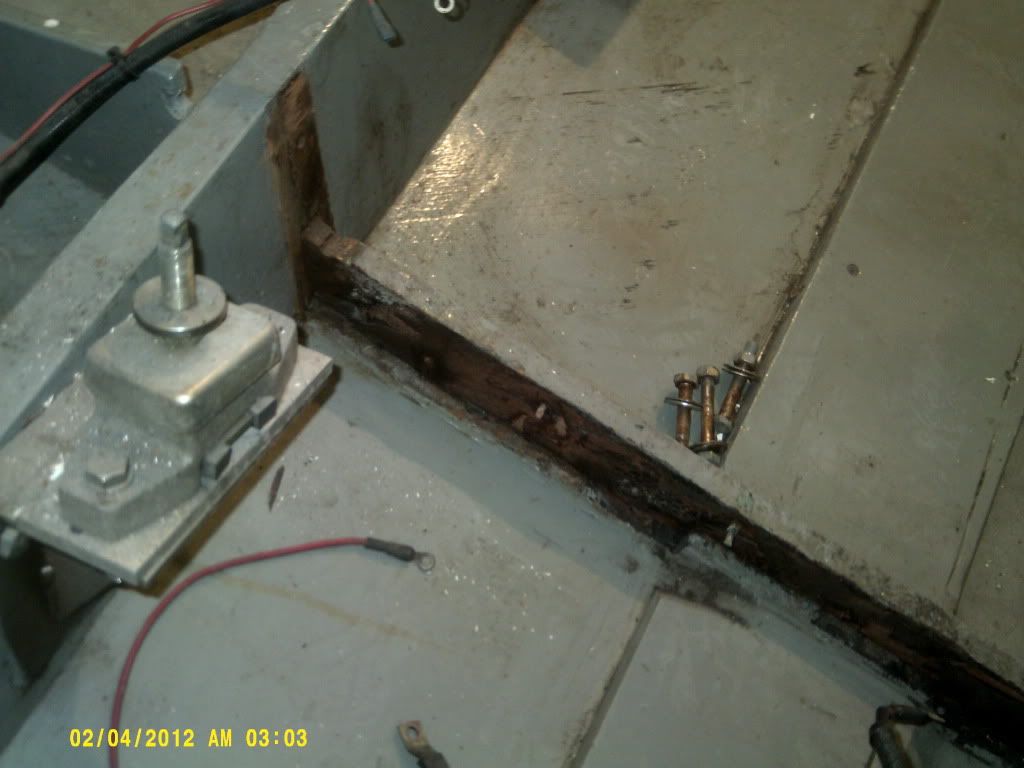
Other frame under the engines, ply chopped out, new one going in tomorrow, hopefully tomorrow we'll be sticking the first bit of new timber into place, 15mm BS1088 ply.

Image

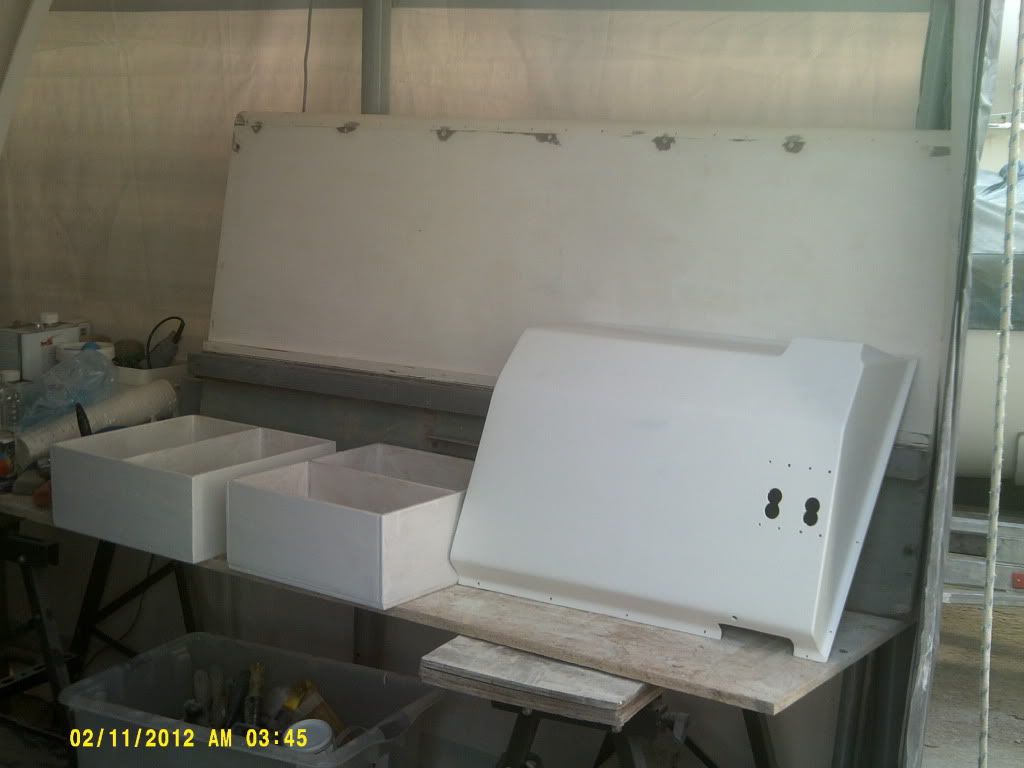
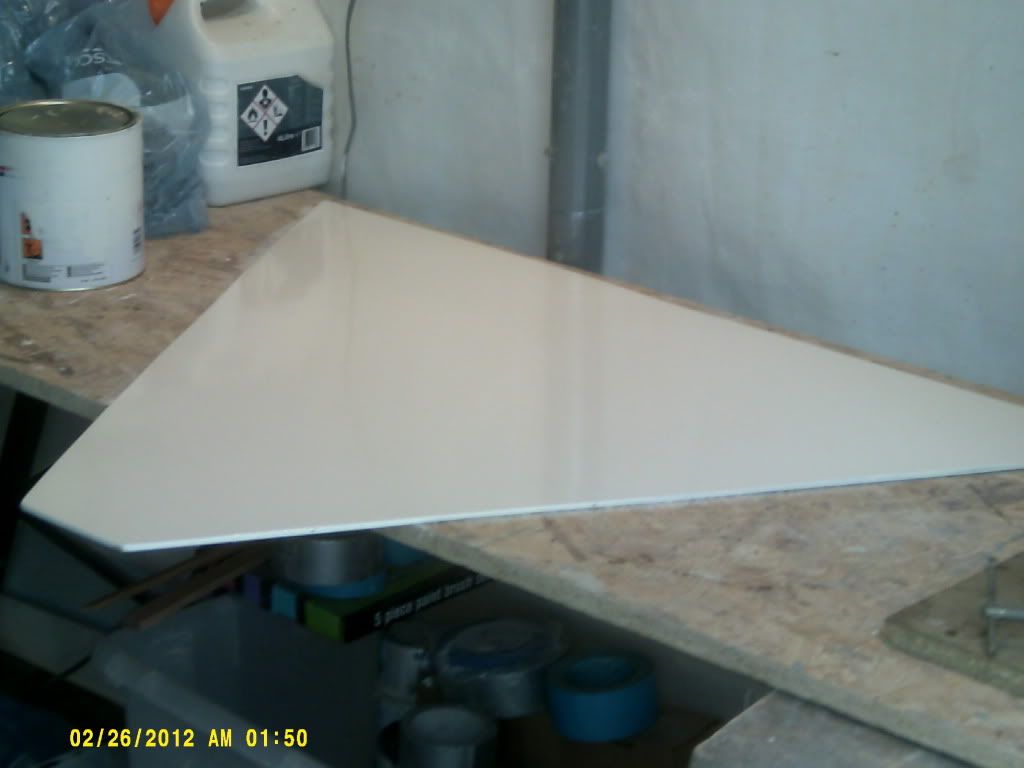
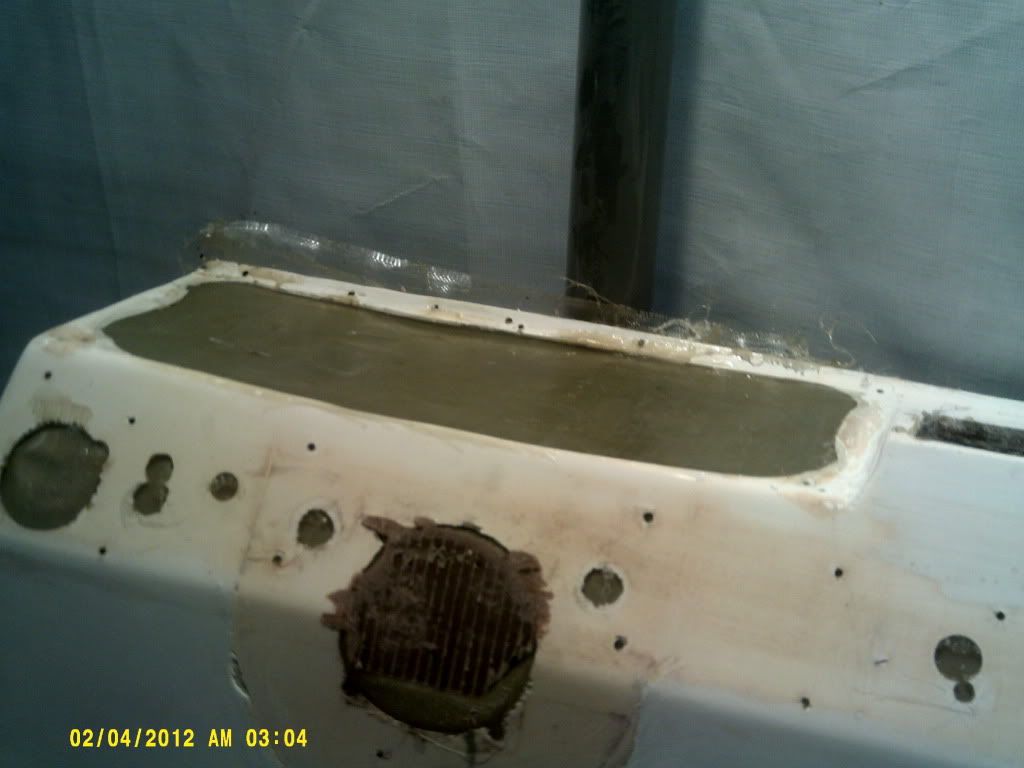
My first effort at fibgreglass, lot of filler needed but should come up ok.

Image

More to follow.

Ben
Admiral
Posts: 1694
Joined: Thu Mar 25, 2004 7:05 pm
Location:

Post by Ben »

Generally progress is good.

We've even got some new wood fitted!!

Image

Centre console now looking much better and a lots of sanded items ready to be undercoated, new battery boxes I made in plywood too as I couldn't stand the plastic ones.

Image

Santa came very early this week in the shape of a new Morse control and new round bezels for the dash, its going to look soo much better.

I hear another club member has launched his newly re-engined H28 so I had better get cracking and get out there on the water.

Ben
Admiral
Posts: 1694
Joined: Thu Mar 25, 2004 7:05 pm
Location:

Post by Ben »

Some good news, after three weeks with the keel tented in with 2 dehuidifiers running the wood is dry enough for the new keel to go on. Busy easter....

Image

One fuel tank being painted.

Image

First undercoat on the topsides.

Image

One battery box with cleaned and scrubbed strainers.

Image

The other battery box containing 2 AVB stern glands with new seals (its an easy job), two painted half couplings, 2 painted gear shift cable mouths, 6 new poly carb lids for the tank inspection hatches all drilled and ready to fit.

Image

Ben
Admiral
Posts: 1694
Joined: Thu Mar 25, 2004 7:05 pm
Location:

Post by Ben »

Time for an update.

I should apologise for the poor quality photos, there is two reasons, its a very cheap camera and I'm a dreadful photographer.

The really good news is that all the keel bolts are now out, including the 4 very long ones which took over an hour each. I've bought enough bronze rod and nuts and washers to replace them. I can't help but think, when considering the alternatives, that bronze is the best compromise of being contemporary to the boat and corrosion resistant.

Console starting to look really good.

Image

Bit more broken wood fixed with a new bit.

Image

Yet more new wood.

Image

Third attempt at laminating a pair of new supports for the anti cavitation plate at the transome.

Image

A locker lid being painted.

Image

Ben
Admiral
Posts: 1694
Joined: Thu Mar 25, 2004 7:05 pm
Location:

Post by Ben »

Gathering pace now...

As of this evening the new keel is in place, shipwright Jim did a cracking job of scarfing the keel together, African mahogany, 1 1/8 thick, 3 1/2 inches wide. It was dry fitted on the weekend and tonight its glued in place.

I think, aside from a couple of tiny bits, all woodwork is now complete! Yay!

I just have a huge amount of painting to do.

Pictures speak a thousand words.

Image

Image

New cockpit linings in place.

Image

Image

We extended the outer extremity of this new bulkhead to strengthen the joint in the frame at the chine.

Image

One thing I wanted to achieve was addressing the strength of the inner structure of the boat, right to the core. I'm happy that we've done that. Good as new! I'm sure the 'Three Wise Men' would approve.


Ben
Admiral
Posts: 1694
Joined: Thu Mar 25, 2004 7:05 pm
Location:

Post by Ben »

I've taken a day off on Monday in order to lift in the replacement engines I've bought from a club member, they had been in a Swordsman, I found one sump full of water...not entirely sure what happened but I didn't time for a rebuild so bought some more, Lorna was delighted! Forthcoming story for Fairey News I think. They were delivered to the yard yesterday.

We've painted the bilges and started to assemble the boat.

Image

New DZR ball valves with bronze hose tails.

Image

New sterngland hose, replaced the double jubilee clips with a single Mikalor W4, I noticed that one of the old clips had started to slide off the end, I think this is much more secure albeit a single point of failure.

Image

Raw water separators are now fitted, and plumbed in, see the teak deck, that's had 2 coats of Deks Olje D2, needs 4 more.

Image

One tank in place on some new foam strips courtesy of another very helpful club member.

Image

New Vetus exhaust hose now fitted and some other bits and bobs, all loose items in bilge paint grey now finished, some white bits to finish off.

Last night we whacked a coat of half and half (undercoat and enamel) onto the topsides, I brushed on and Lorna laid off, still quite a bit of work to do there.

Paul Hooper
Carpenter
Posts: 49
Joined: Tue Apr 19, 2005 6:26 pm
Location:

Post by Paul Hooper »

Well after a long and tiring day they are in.

First job for Ben and I was to swap the gearboxes, charge coolers etc. a task not aided by a previous owner loctiting the drive plate screws in..

Next we dismantled half of the tent and peeled the top sheet back to allow the crane that was due to arrive shortly to do the lift to drop them straight in. It was at this point that it started to drizzle and Ben's immaculate engine bay started to get damp.

A quick inquiry of the yard foreman as he sidled past as to when the crane might be here received the unwelcome answer, oh they won't be here today - bu99er.. this being the crane the foreman had insisted they must use coz the yellow 'A' frame kicking about the yard wouldn't be safe?

A compromise was quickly agreed which involved us doing it our way and using the yard's pallet truck and 'A' frame.

Burgundy Ben and his collection of old Perkins engines
Image

Image

A few hours of running up and down ladders in the rain swapping engine mounts ensued.


A cheery smile from a damp classic boat owner..
Image

All in place, tent reassembled, buttoned up and in the cafe for a well earned cup of tea and a cake by 3:30.

Bloody hell I am knackered now, still beats driving a desk on a Monday morning - still it's all messing about in boats to me..

Ben
Admiral
Posts: 1694
Joined: Thu Mar 25, 2004 7:05 pm
Location:

Post by Ben »

As usual, I had completely under estimated the size of the task...

Without Hoops helping me today I'd still be there in the dark, my hands are stained brown from the rusty chain on the hoist.

tonyhh
First Sea Lord
Posts: 769
Joined: Tue Mar 02, 2004 12:04 am
Location:

Post by tonyhh »

Loved the pics and commentary you old Sea Dog
T

Folly Reach
Captain
Posts: 436
Joined: Thu Jul 15, 2010 1:03 pm
Location: United Kingdom

Post by Folly Reach »

Well Done Ben.

Shame about the shorts..........!

tonyhh
First Sea Lord
Posts: 769
Joined: Tue Mar 02, 2004 12:04 am
Location:

Post by tonyhh »

They're like the Titanic, Ian

Post Reply